Test blog
Roll On Paint with Technique
Painting a room may seem straightforward, but doing it well requires more than just a brush and a bucket of paint. Whether you’re refreshing tired walls or experimenting with trending interior paint colors for living rooms in 2025, approaching the task with precision can make all the difference. Here’s a step-by-step guide to painting your walls like a seasoned DIY expert.
- Start with the Right Tools and Materials
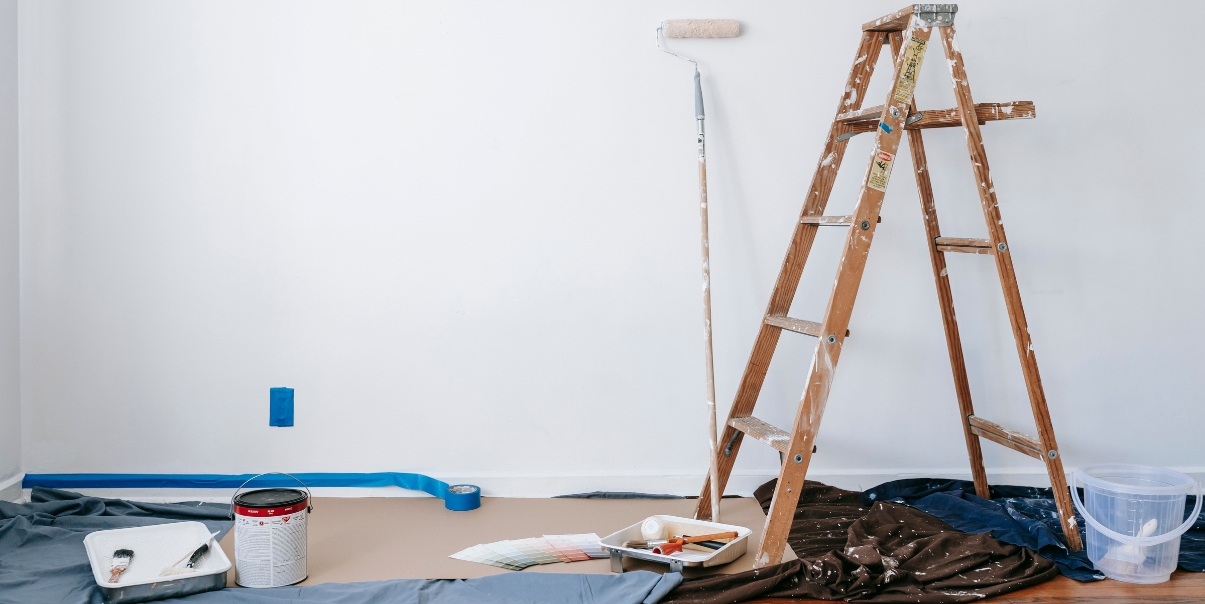
Before anything else, gather everything you’ll need. This typically includes paint, primer, painter’s tape, drop cloths, rollers, brushes, a roller tray, stir sticks, and a ladder. If you’re choosing eco-friendly paint, look for low VOC paints that minimize harmful emissions. Having all materials on hand saves you time and keeps the process smooth from start to finish.
- Clear and Protect Your Space
You’ll want to move as much furniture out of the room as possible. Anything that remains should be covered with plastic sheeting or drop cloths. Protect your floors too. Use painter’s tape to mask baseboards, window frames, light switches, and outlets. Good prep helps prevent accidents and ensures a sharp, clean finish.
- Prep the Walls Thoroughly
Painting over dusty or damaged walls will only highlight flaws. Wipe down all surfaces to remove dirt and grime. Patch any holes or cracks with spackle, then sand the surface until smooth. If your walls are glossy, lightly sanding helps the new paint adhere better. This step is especially important when applying smart paint with temperature-regulating properties or paint with a glossy finish.
- Prime Where Necessary
Primer isn’t always required, but it’s essential in certain situations—like when covering dark paint, stained walls, or porous surfaces such as fresh drywall. Primer also ensures a uniform finish and enhances paint adhesion. For brighter or bold interior paint colors, priming the walls helps those shades look more vibrant and consistent.
Painting The Room Right
- Cut In Before Rolling
Use an angled brush to “cut in” along the edges of the walls. This includes corners, ceilings, baseboards, and around trim. Cutting in establishes a neat boundary and makes rolling easier. It also ensures that areas where the roller can’t reach are still well-covered and uniform in color.
- Roll On Paint with Technique
Pour your paint into a roller tray and saturate your roller, ensuring it’s evenly coated without dripping. Start rolling in a “W” or “M” pattern, then fill in the gaps without lifting the roller unnecessarily. This approach prevents roller marks and promotes even coverage. Use long, controlled strokes to maintain consistency across the surface.
- Let It Dry and Recoat If Needed
Allow the first coat to dry thoroughly before assessing whether a second coat is needed. Most high-quality paints will require at least two coats for a smooth, full-coverage finish. If you’re using trending paint finishes like matte or eggshell, layering properly ensures the texture appears as intended.
- Final Touches and Cleanup
Once the final coat is dry, gently remove painter’s tape to avoid pulling up any paint. Reinstall light switch plates and move your furniture back into place. Don’t forget to clean your brushes and rollers according to paint type—water-based or oil-based. Store justifyover paint for future touch-ups.
Add Personality with an Accent Wall
If you’re feeling adventurous, consider creating a modern accent wall with paint or even using mural wallpaper ideas to introduce a focal point. Wallpaper trends and textured wallpaper designs can also elevate your room with minimal effort. Whether you’re sticking with a monochrome look or playing with color contrasts, accent walls are a smart way to personalize a space.
Conclusion
Painting your room doesn’t have to be overwhelming. With the right preparation and attention to detail, you can transform a space quickly and affordably. Whether you’re choosing sustainable paint options or aiming to master DIY wall finishes, following these eight steps ensures professional-looking results with every project. Take your time, stay consistent, and enjoy the satisfaction of giving your space a fresh new look.